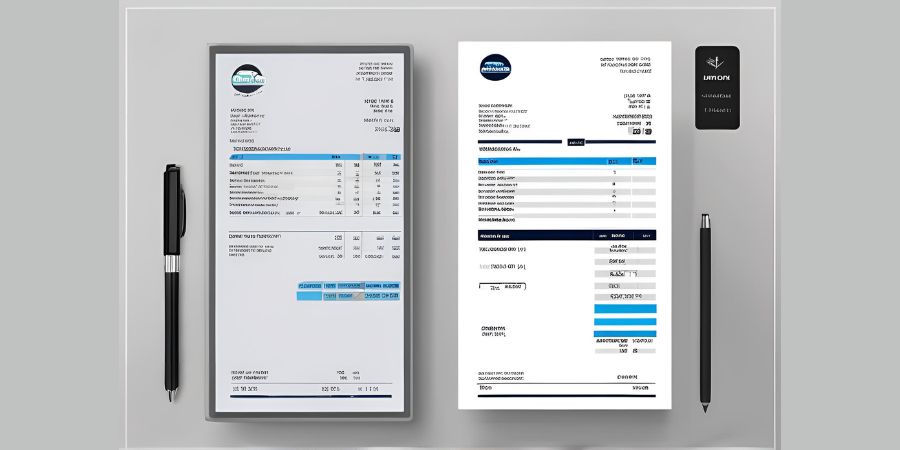
Although working for yourself has many advantages in terms of freedom and flexibility, it also has drawbacks, especially when it comes to money management. A polished and functional invoice template is a vital resource for any independent contractor. All the information you require to create a self-employed invoice template that will enable you to get paid on time and maintain financial organization will be covered in this article.
Why a Professional Invoice Template is Important
1. The Role of Invoices in Business
Invoices are more than just a request for payment; they are official documents that record the transaction between you and your clients. A well-crafted invoice helps maintain a professional image, ensures clear communication about the services provided, and helps avoid any payment disputes.
2. Benefits of Using an Invoice Template
Using a standardized invoice template has several benefits:
- Consistency: Ensures that all your invoices look uniform, which adds to your professional appearance.
- Efficiency: Saves time since you don’t need to create a new invoice from scratch every time.
- Accuracy: Reduces the chance of errors as key elements are already included in the template.
Essential Elements of a Self-Employed Invoice Template
To create an effective self-employed invoice template, certain key elements should always be included:
1. Header with Business Information
Your invoice should start with a clear header that includes:
- Your Business Name: If you operate under a business name, it should be prominently displayed.
- Your Name: As a self-employed individual, your personal name might also be necessary.
- Contact Information: Include your phone number, email address, and physical address.
2. Client Information
Include a section for your client’s details:
- Client’s Name or Business Name: Specify the name of the person or company you are invoicing.
- Contact Information: The client’s address, phone number, and email address.
3. Invoice Details
Key details about the invoice itself should be included:
- Invoice Number: A unique identifier for the invoice. This helps both you and your client keep track of payments.
- Invoice Date: The date the invoice is issued.
- Due Date: The date by which payment is expected.
4. Description of Services
Provide a detailed breakdown of the services provided:
- Description of Work: Clear and concise details about the work you performed.
- Quantity: If applicable, the number of hours worked or items sold.
- Rate: The rate charged per hour or per item.
- Total Amount for Each Service: The subtotal for each line item.
5. Summary of Charges
Sum up all the charges:
- Subtotal: The total amount before any taxes or discounts.
- Taxes: Any applicable taxes.
- Discounts: Any discounts provided to the client.
- Total Amount Due: The final amount the client needs to pay.
6. Payment Terms
Clearly state your payment terms:
- Payment Methods Accepted: Specify whether you accept checks, credit cards, PayPal, etc.
- Payment Instructions: Any special instructions for making a payment.
- Late Payment Fees: If you charge any fees for late payments, mention them here.
7. Additional Notes
An optional section for any additional information:
- Personal Thank You Note: A brief note thanking the client for their business.
- Legal Information: Any legal disclaimers or notes.
Tips for Creating an Effective Self-Employed Invoice Template
1. Use Professional Software
Consider using professional invoicing software to create and manage your invoices. Tools like QuickBooks, FreshBooks, and Wave offer customizable templates and automation features that can save you a lot of time.
2. Keep It Simple and Clear
Avoid cluttering your invoice with too much information. Stick to the essentials and ensure that it is easy to read. Use a clean, professional design with clear headings and adequate spacing.
3. Customize for Each Client
While a template helps maintain consistency, make sure to customize each invoice to fit the specific client and job. Personalizing the invoice can also improve your relationship with the client.
4. Proofread Before Sending
Always double-check your invoice for accuracy before sending it out. Ensure that all amounts are correct, the dates are accurate, and the client’s information is properly filled in.
Sample Self-Employed Invoice Template
Here’s an example of a simple self-employed invoice template:
[Your Business Name]
[Your Name]
[Your Address]
[City, State, ZIP Code]
[Phone Number]
[Email Address]
Invoice To:
[Client’s Name/Business Name]
[Client’s Address]
[City, State, ZIP Code]
[Client’s Phone Number]
[Client’s Email Address]
Invoice Number: [Unique Number]
Invoice Date: [Date]
Due Date: [Date]
Description of Services:
DescriptionQuantityRateTotal
[Service Description] [Qty] [Rate] [Total]
[Service Description] [Qty] [Rate] [Total]
Subtotal: [Subtotal Amount]
Taxes: [Tax Amount]
Discounts: [Discount Amount]
Total Amount Due: [Total Amount]
Payment Terms:
- Payment Methods Accepted: [e.g., Check, Credit Card, PayPal]
- Payment Instructions: [Instructions]
- Late Payment Fees: [Fees]
Additional Notes:
Thank you for your business! If you have any questions, please contact us at [Your Contact Information].
Conclusion
One of the most important steps to successfully managing your funds is to create a self-employed invoice template. Your invoices will be professional, straightforward, and help you get paid on time if you include all the required information and adhere to best practices. You can build an invoice that fits your business demands and upholds a professional image by using the supplied tips and sample template. Recall that an attractive invoice improves your standing with clients in addition to assisting you in tracking your profits.

